
Infomaniak has always been committed to minimising the ecological impact of its activities, but also to getting the most out of its resources. For a hosting company that uses only renewable energy, the most polluting aspect of our activities is the purchase of new servers. With this in mind, we seek to extend the life of servers as much as possible and find a second life for those we have to retire from daily service.
We keep these for internal use, such as preproduction, training and demonstration. That’s the case with our good old DELL R410 servers! That said, even though they have to work less hard, they still need upgrading: this is what we’re discussing today.
This article was written by Mickael Asseline (alias PAPAMICA), one of Infomaniak’s systems engineers. Passionate about IT, he shares his discoveries on forums, Wiki-Tech.io and Tech2Tech and has a good time playing computer games when he has some free time.
DELL R410 servers
Before getting to the nitty-gritty, I suggest we go back several years: to 2009! The 1U format DELL R410 servers date back to the end of 2000 and support two CPUs, up to 64 GB of RAM and only four slots for SAS or SATA disks (2.5″ or 3.5″).
Getting ready for the second life!
The processor
Our old servers ran on a four-core CPU. This used to be enough, but these days we want power. We’re therefore taking advantage of the two CPU slots and inserting six-core CPUs. Here it is, equipped with two nice Xeon L5640s!
Volatile memory
We have eight DDR3 RAM slots at our disposal. As the server only supports 64 GB, we opted for eight 8 GB ECC DDR3 arrays clocked at 1333 MHz. That’s the limit we can achieve in that area.
The network
We wanted to add a network card that wouldn’t slow down the server but that was capable of making the most of our 40 Gbps infrastructure. We opted for a 25 Gbps card. To do this, we had to free up the server’s PCIe slot and dispose of the PERC H700 RAID card.
Storage
Let’s get to the most interesting part!
These servers only have four 3.5″ slots for disks, which limits the possibility of deploying a system part and data (without raid, e.g. for the ELK stack or Swift languages). We opted to modify the server to add two SSDs for the system. This required some ingenuity, as we had very little space available in these 1U servers.
Let’s start with the simplest aspect: we added four 12 TB 3.5″ SAS drives for data storage in the four available slots.
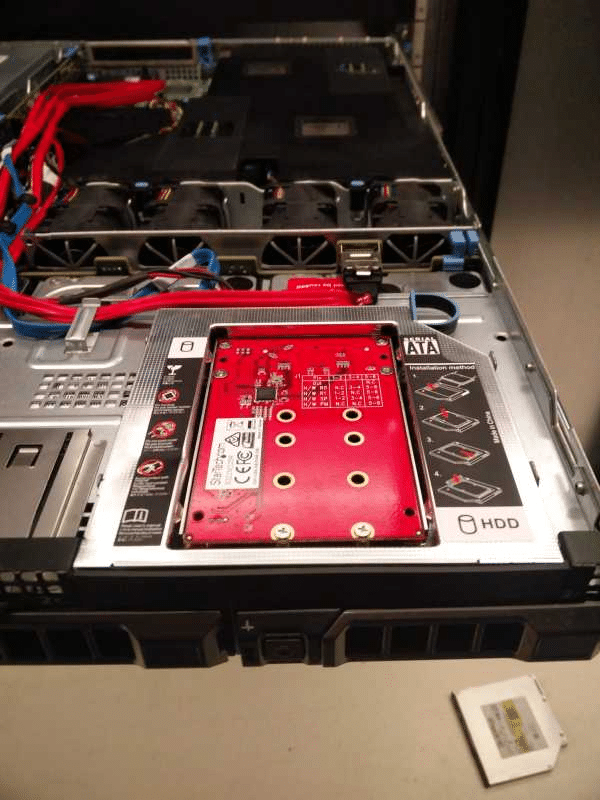
For the extra SSD, we used the CD drive slot with a CD drive to 2.5″ SATA drive adapter. It looks like this:

But, as mentioned earlier, we wanted two SSDs to set up a RAID for the system. So we started with this adapter and added another adapter: two M.2 to 2.5″ SATAs.
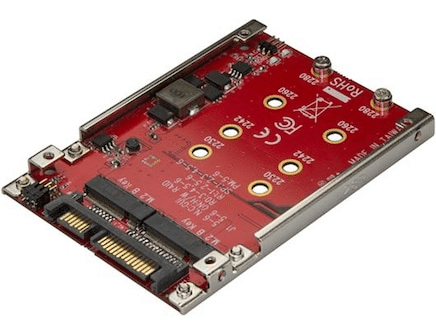
So that’s how we arrived at our two extra SSDs! This configuration doesn’t allow us to have a hardware RAID, but we keep the hot-plug functionality to hot swap a drive in the event of a problem (not available for M.2 SSDs).
Although the M.2 adapter allows hardware RAID (using jumpers on the electronic board), we have no way of monitoring this remotely, so we choose not to use it. The system sees the four SAS disks, as well as the two M.2 SSDs, as JBOD. We can use a software RAID on it.
Result
So here we are with our two extra SSDs in our R410 servers:
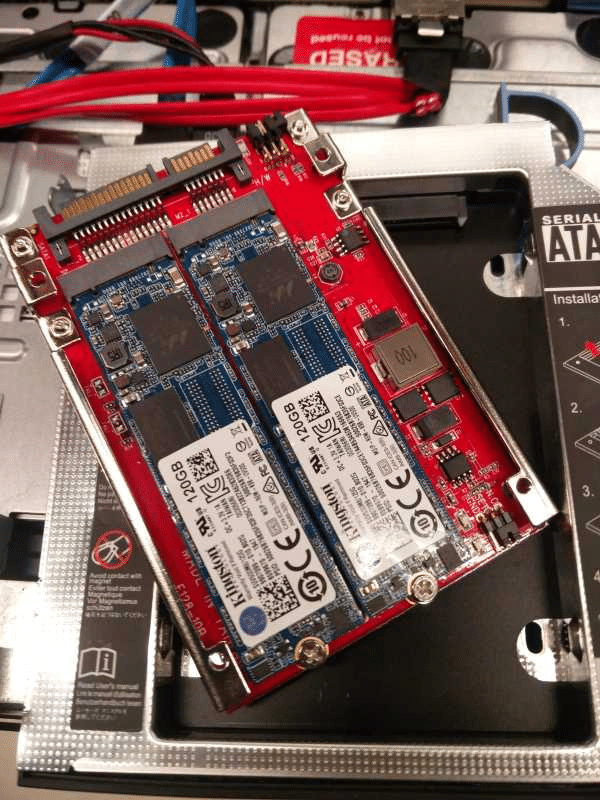

On our R410, we can correctly see the two “system” M.2 120G SSDs and four 12 TB HDDs on the front panel:
root@17S025J>_ ~ # dmidecode -t 1 | grep PowerEdge
Product Name: PowerEdge R410
root@17S025J>_ ~ # lsblk
NAME MAJ:MIN RM SIZE RO TYPE MOUNTPOINT
loop0 7:0 0 289.2M 1 loop /lib/live/mount/rootfs/filesystem.squashfs
sda 8:0 0 111.8G 0 disk
sdb 8:16 0 111.8G 0 disk
sdc 8:32 0 10.9T 0 disk
sdd 8:48 0 10.9T 0 disk
sde 8:64 0 10.9T 0 disk
sdf 8:80 0 10.9T 0 disk
Our servers will be in operation for a few more years in our various labs


No comments
No comments yet.