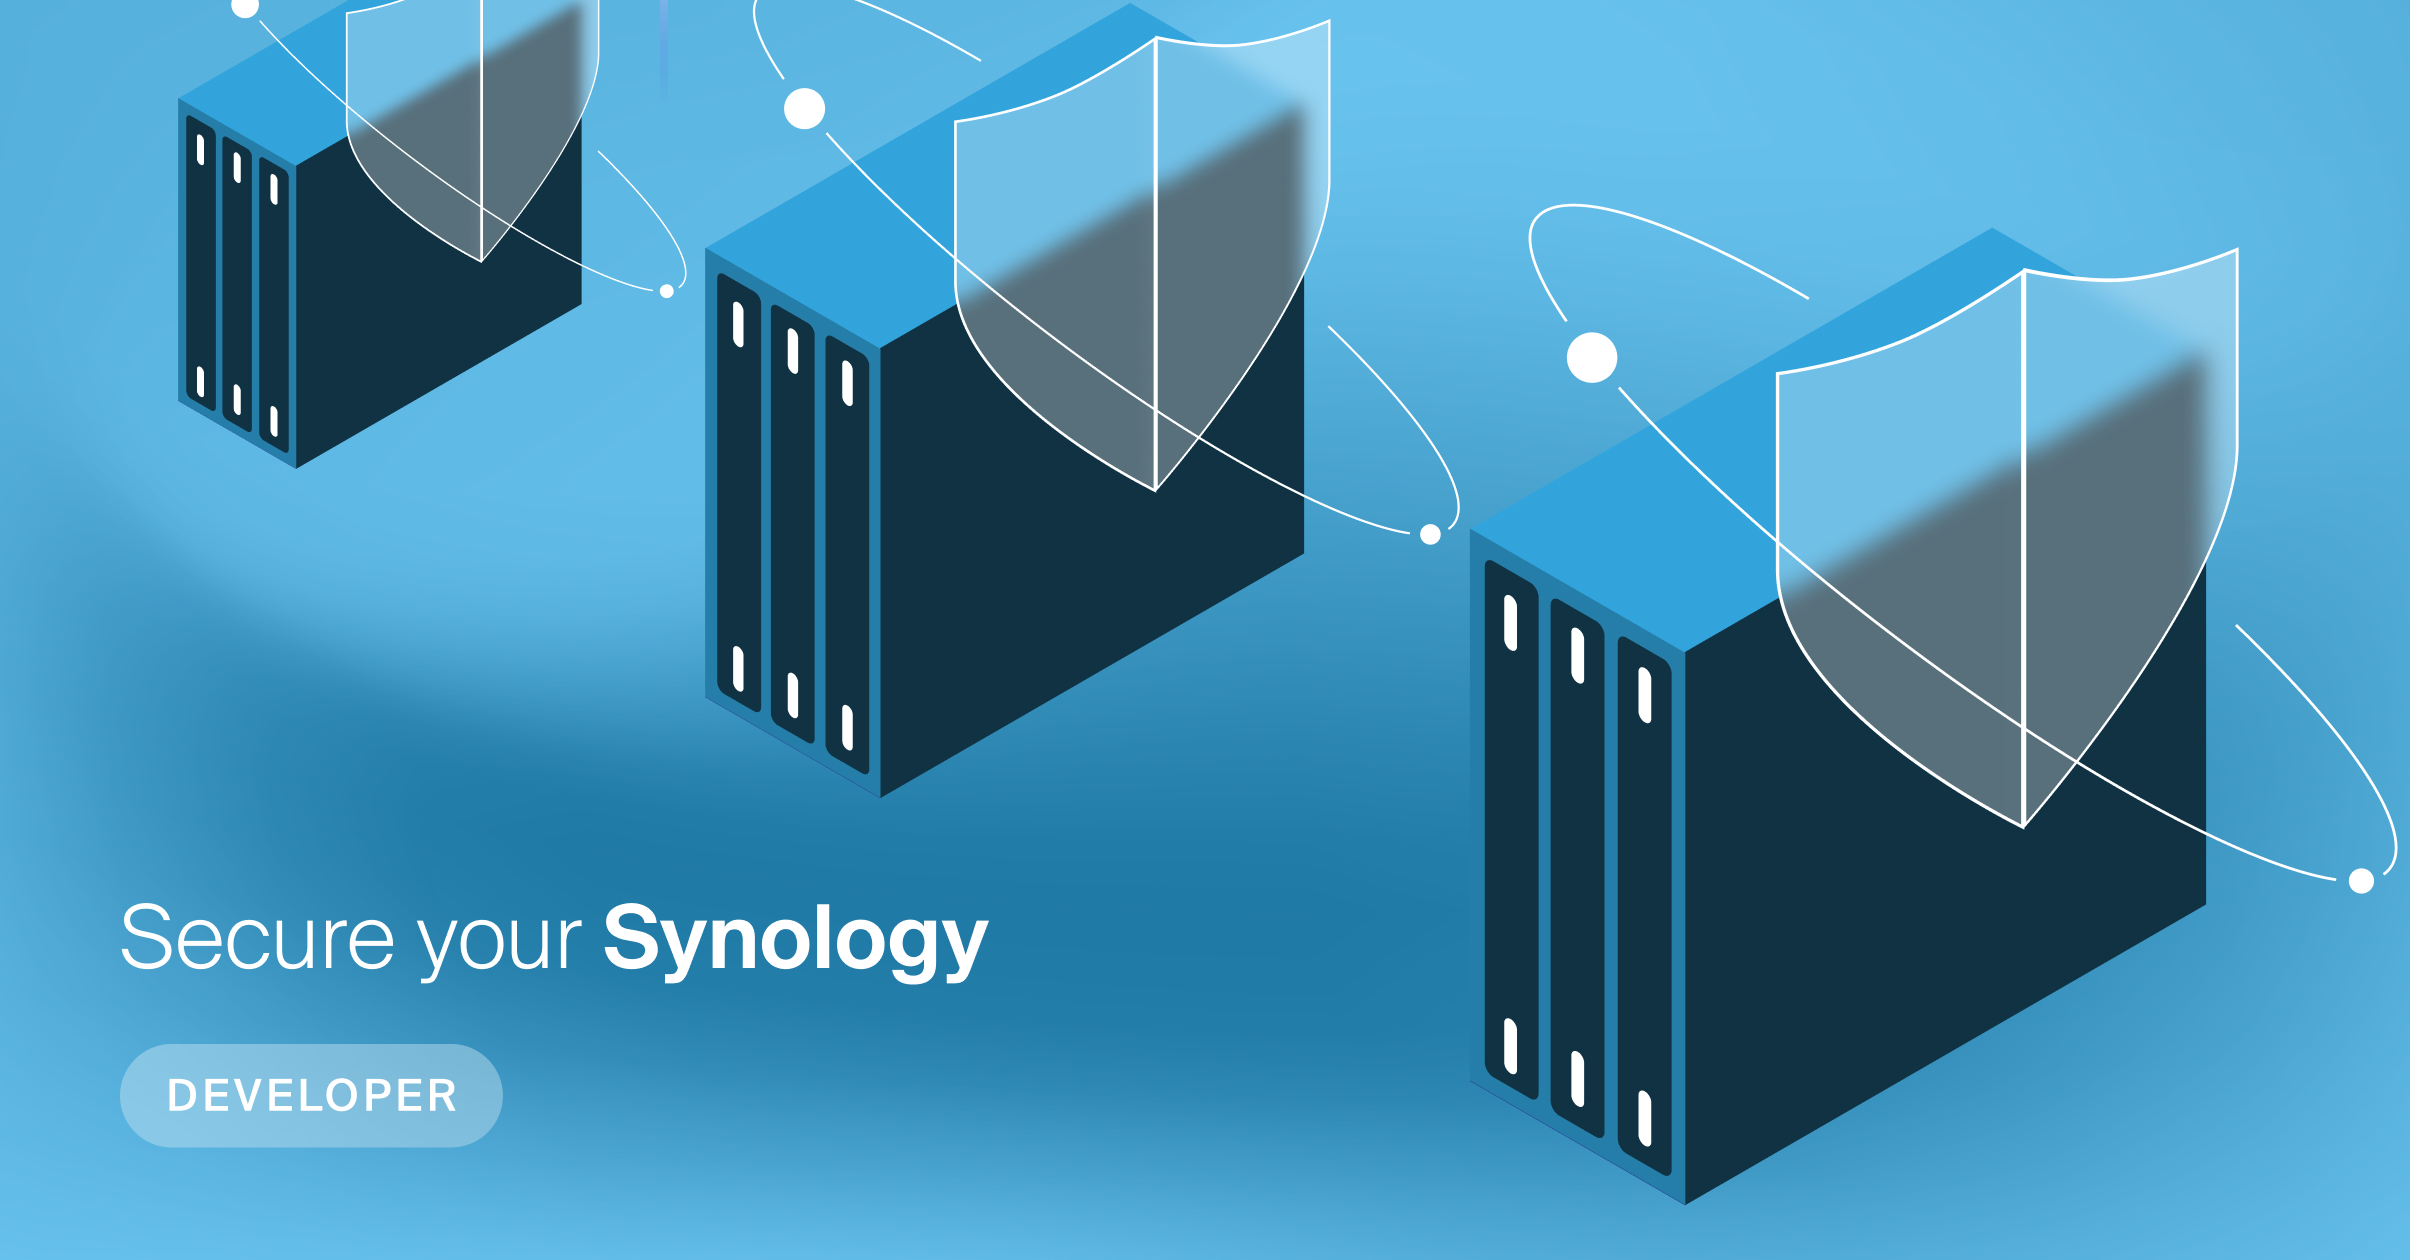
With up to 40 TB of storage space, Synology NAS servers hosted by Infomaniak are ideal for remotely storing or backing up large quantities of data which can then be accessed at any time, from anywhere.
At Infomaniak, your Synology NAS is hosted in a highly secure datacentre and benefits from a fast and reliable infrastructure. Powerful tools with various features, Synology NASs are genuine, fully customisable mini servers. That’s why they are the preferred choice of companies wanting to protect their data while enjoying high availability.
Using encryption to protect information exchanged between your web browser and your NAS is an important aspect of security. By installing an SSL certificate on your Synology, all of your data, including your access credentials and communications, are encrypted. The technology behind this security is exactly the same as that used when you access a site over a “HTTPS” connection.
By default, Infomaniak’s Synology NASs come with an unsigned SSL certificate. However, this type of certificate is not verified by a trusted Certification Authority and therefore triggers security alerts in web browsers.
To eliminate these warnings and adhere to security best practices, you can easily install an SSL certificate signed by a browser-recognised Certificate Authority: Let’s Encrypt.
Installing an SSL LE certificate on a Synology NAS
In this article, you will learn how to install a signed SSL certificate on your Synology NAS hosted by Infomaniak in just a few steps. To benefit from greater security, we recommend that you follow our 10 tips for securing access to your Synology NAS.
1. Link your domain name to your NAS
The SSL certificate issued by the Certification Authority guarantees the ownership of the domain name. This is why you need to start by linking your Synology NAS to your domain name in the Infomaniak Manager.
If you don’t have one yet, you can buy a domain name from Infomaniak to benefit from the best conditions and features offered by the Manager.
To link your domain to your NAS, access the dashboard via the “Synology” section of the Manager. Next, click “link a domain” in the bottom right.
Register your chosen sub-domain (new access URL to your NAS) and click confirm.
2. Install the SSL certificate on your NAS
Before you do anything…
To benefit from the Let’s Encrypt certificate management, your Synology NAS must have been updated with the latest version of its DSM (Disc Station Manager) operating system. This is a necessary prerequisite for the installation of a Let’s Encrypt SSL certificate and takes just a few minutes.
To install this update, go to the “Update” tab in your NAS control panel and select “DMS update”.
Installing a new SSL certificate
Once updated, your NAS is ready for the installation of the Let’s Encrypt SSL certificate.
To begin, go to the control panel in your Synology NAS and complete the following steps:
This step ensures that the new Let’s Encrypt SSL certificate encrypts all data exchanges when you access your NAS via its access URL in HTTPS. You can now configure your Synology NAS to redirect all exchanges to HTTPS.
3. Redirect all access requests to HTTPS
As mentioned, you can configure your Synology to systematically and automatically redirect all access requests to HTTPS.
To do this, go to the “Network” section of the DSM, then “DSM settings” and select “Redirect HTTPS connections to HTTPS automatically”. When you have applied the changes, all connections to your NAS will use the encryption provided by the Let’s Encrypt SSL certificate.
Your Synology NAS’s Let’s Encrypt certificate will be automatically renewed every 90 days.
Find out more
Don’t miss all new Infomaniak features
We also suggest...
Roadmap 2021: Infomaniak accelerates the development of its independent technology
Tuesday December 8th, 2020
Engineers, whistleblowers, ethical hackers… this is how Infomaniak protects your URL data
Monday November 9th, 2020
Encrypted email address: Infomaniak supports HIN for professionals dealing with health-related issues
Monday September 7th, 2020
kMeet, which is still free of charge, gets a makeover and now features moderation and recording
Monday September 7th, 2020
Swiss Made Software: building the technological alternative in the heart of Europe
Wednesday August 26th, 2020
One single password to manage everything: Infomaniak’s continuing its simplification process
Friday August 14th, 2020
Infomaniak 2020 Roadmap: a genuine alternative to the Big Five tech companies
Friday February 21st, 2020
9 reasons to choose Infomaniak to store your data and ensure data confidentiality
Monday February 3rd, 2020
Introducing kDrive: Switzerland’s first collaborative storage solution for SMEs and individuals
Friday December 20th, 2019
Black Friday: Infomaniak is clear – the planet is not something to haggle over
Friday November 29th, 2019
Infomaniak makes life easier for domain name owners and purchasers through bulk transfer
Monday September 23rd, 2019
Application hosting: an on-demand infrastructure to host a public service (case study)
Wednesday September 4th, 2019
How to create a Google Analytics goal for monitoring subscriptions to a newsletter
Friday August 16th, 2019
Web hosting with DIVI: free access to all WordPress themes by Elegant Themes
Thursday June 27th, 2019
Jelastic Cloud: the easy alternative to Amazon Web Services and Google Cloud Platform
Wednesday May 15th, 2019
Infomaniak makes your sites even more secure with Patchman Security Scanner
Friday February 22nd, 2019
Infomaniak launches Swiss Transfer, the Swiss high-capacity alternative to WeTransfer
Friday February 15th, 2019
Speed up the page load time of your website anywhere in the world with Fast Anycast DNS
Friday February 1st, 2019
Guest Manager: the one-stop event organisation solution is now more powerful than ever before
Friday January 18th, 2019
Swiss Backup, the Swiss backup solution for Windows, Mac, Linux, iOS and Android
Thursday November 29th, 2018
Infomaniak Sync: the Android app to sync your WorkSpace calendars and contacts
Friday November 9th, 2018
DebConf18 in Taiwan: Infomaniak contributes to Open Source at the highest level
Tuesday October 16th, 2018
WorkSpace 3: the new generation of Swiss Webmail is evolving with its users
Friday September 14th, 2018
Infomaniak launches Jelastic Cloud: the Swiss PaaS platform for developers and businesses
Tuesday September 4th, 2018
ISO 27001: Infomaniak stands out for its optimal management of information security
Friday August 3rd, 2018
Invitation management service: Infomaniak launches a tool for organising your events
Friday July 27th, 2018
Create an on-line store: e-commerce sites are becoming increasingly popular
Wednesday March 21st, 2018
How to create a VPN in Switzerland with a Synology NAS, hosted with Infomaniak
Thursday March 15th, 2018
Infomaniak integrates the European General Data Protection Regulation – GDPR
Tuesday February 6th, 2018
Is your WordPress site not yet in https format? Here is how to enable it
Wednesday November 15th, 2017
5 concrete, simple recommendations for increasing your open rate – Email Marketing
Friday April 28th, 2017
Starting 4 April, your admin console interface is going to be gradually evolving
Thursday March 30th, 2017
Transfer a domain without interrupting the operation of your emails and Internet sites
Monday March 20th, 2017
The Rolex Grand Slam organiser sends its newsletters with Infomaniak: Interview
Thursday November 24th, 2016
A specialized partner of Solar Impulse, Infomaniak is actively involved in the adventure
Tuesday June 16th, 2015
Sync your contacts and calendars (even more easily) with the Infomaniak WorkSpace
Tuesday May 5th, 2015
Install Joomla, ownCloud, phpBB, and more… in just a few clicks with Infomaniak hostings
Friday January 23rd, 2015
Rencontres du Management Durable (Sustainable Management Meetings) at the CCIG
Friday June 20th, 2014
The new “Mon Site Facile” tool: easy web site creation in just a few clicks of the mouse
Friday February 28th, 2014