Improve WordPress performance: use Memcached with W3 Total Cache
Published on October 27, 2017 by Team Infomaniak
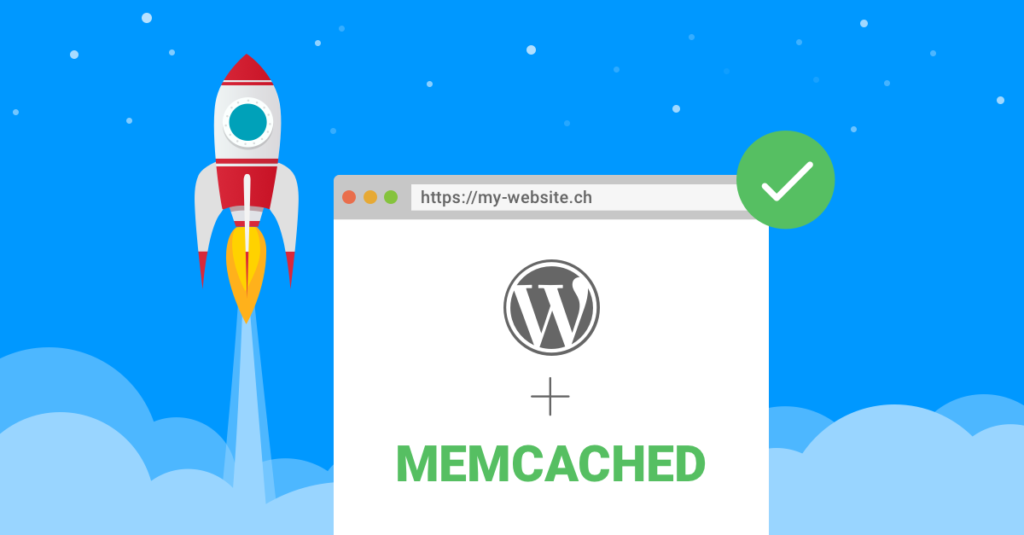
With Infomaniak hosting, you are already benefiting from a powerful infrastructure that greatly enhances the performance of your WordPress sites. In this article, we’ll see how to further increase the performance of a high-traffic WordPress site by configuring W3 Total Cache with Memcached on a managed Cloud Server.
Memcached is a technology that uses your server RAM to cache frequently used MySQL files and queries. The result is a faster response time, a significant saving of resources on the server side and a site that is displayed much more quickly. It’s no coincidence that high-traffic sites such as YouTube, Reddit, Facebook and even Twitter also use this technology.
Now that you know what Memcached is and how it works, let’s take a look at how to use it with a WordPress site.
1) Installing Memcached on your server
Memcached will soon be installed by default on our managed Cloud Servers. In the meantime, you will still need to write to our support department and state the server and hosting on which you want to use Memcached.
Once Memcached is installed on your site’s hosting, you need to return to WordPress :-).
2) Installing and configuring W3 Total Cache
In this guide, we’re going to use the free extension W3 Total Cache to configure WordPress with Memcached. If you’re already using another extension such as WP Super Cache, you’ll need to deactivate this and install the W3 Cache in order to follow this guide.
Here are the steps to follow to configure W3 Total Cache with Memcached:
- Sign in to your WordPress console
- In the main menu, go to Performance then click on General Settings
- Activate Memcached for the following options:
- Page Cache Method
- Minify Cache method
- Database cache method
- Save the settings
3) Testing Memcached
All you have to do is follow this guide to test if Memcached is working correctly on your site.
Finally, don’t forget to enable browser caching, compress your images and update your WordPress site’s theme and extensions.


No comments
No comments yet.