
Is your WordPress site not yet in https format? Here is how to enable it
Published on November 15, 2017 by Team Infomaniak
If your website displays a security warning, or you do not yet know what an SSL certificate is, then we strongly recommend you read this article 🙂
There’s no doubt about it: the Web is switching tohttps. If your site is not yet available in https, it is high time to act.
What is an SSL certificate or an HTTPS site? What are we talking about?
A secured site has the symbol of a green padlock in the browser address bar. The https located before the domain name indicates that the connection between the website and its visitors is secured and encrypted. This pledge of trustworthiness is made possible through the installation of an SSL certificate on the website.
A security measure which improves your referencing
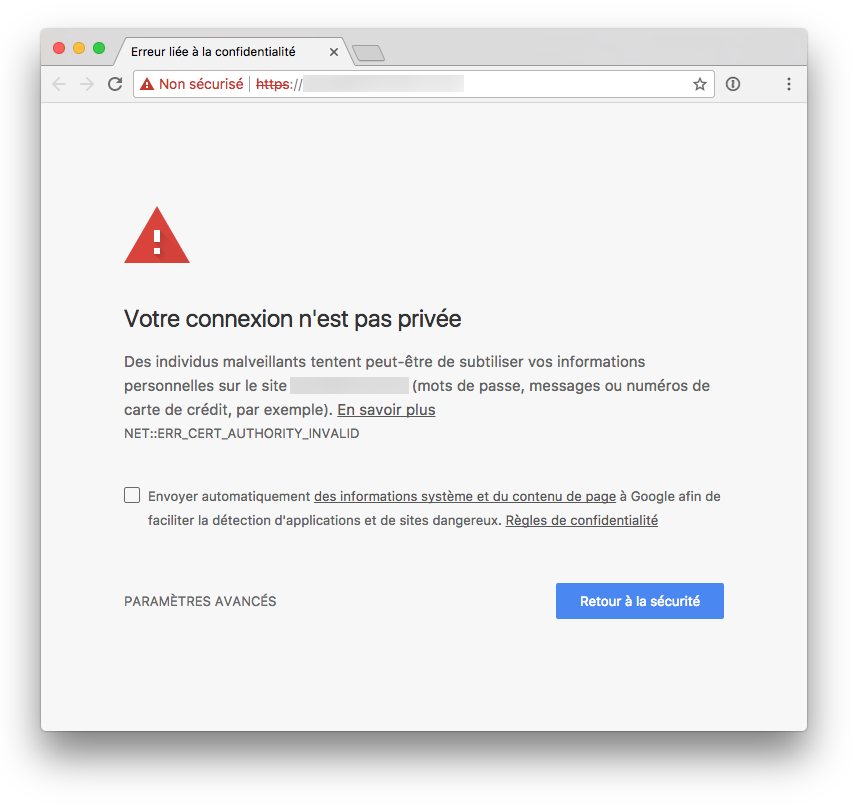
Search engines promote a safer Web and favour secure websites in search results. To encourage people to switch to https, the majority of browsers now indicate “non-secure” sites by presenting a very off-putting warning page. For now, only Web pages that collect data are affected (connection to an online service, subscription to a newsletter, etc.). Https is no longer a trend, it is the norm.
Chrome warning page
Firefox warning page
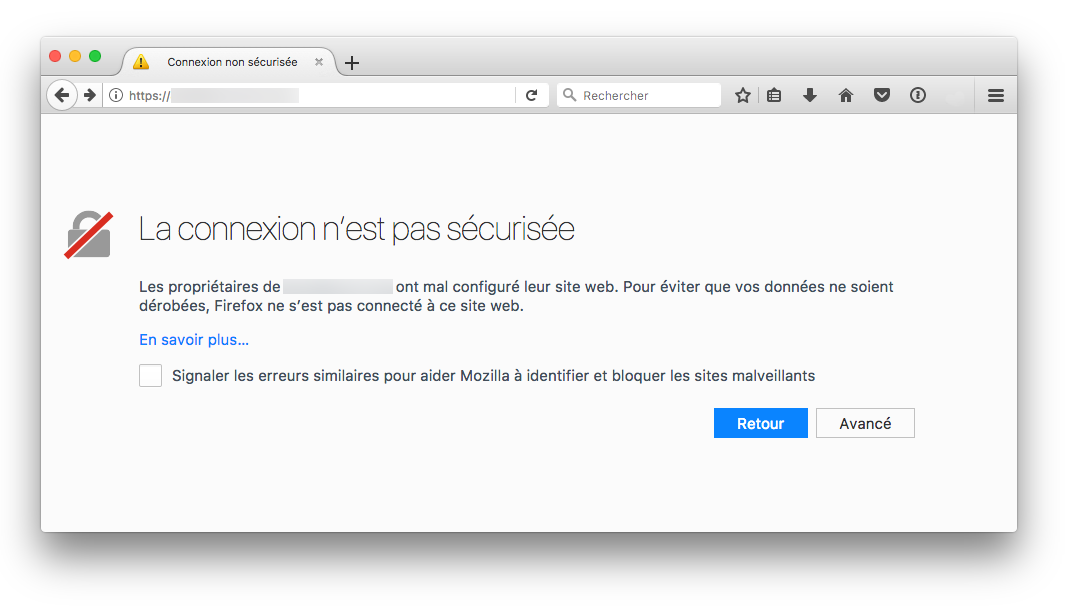
If your site does not yet have an SSL certificate, the vast majority of your visitors will leave upon seeing this warning, which does not inspire trust. As WordPress is the most commonly used CMS (content management system) in the world, we are going to discover together how to enable https on a WordPress site. If you use another CMS like Joomla, Drupal or PrestaShop, we invite you to follow this guide.
How can you enable HTTPS on your WordPress site?
SSL certificates are free with Infomaniak Web hostings and migrating a WordPress site to https is within everyone’s reach. First, we will see how to enable an SSL certificate on your site from the Infomaniak Manager. Then we will see how to install the WordPress extension Really Simple SSL to automatically redirect your visitors to the https version of your site.
1. Install an SSL certificate on your site
The following video illustrates the steps to follow to install a free SSL certificate on the site of your choice:
In case you need it, this guide summarises in writing the steps to follow.
2. Redirect your site’s visitors to https
Once the SSL certificate is enabled, you will still need to adapt your site so that your visitors are automatically redirected to your encrypted version:
In case you need it, this guide summarises the steps to follow to install the WordPress extension Really Simple SSL on your site.
3. Update the Search Console setting
Changing to https is considered a URL change by Google. You will therefore need to add a new property in the Search Console with the https URL of your site. You will have an http property and an https property in your console.If you use sitemaps managed through an extension like Yoast SEO, consider also submitting the new https version in the https profile of your site in the Google Search Console.
What can you do if everything does not go as planned?
If you have a problem after installing an SSL certificate, the first thing is to consider clearing your Internet browser’s cache if you use a cache engine like WP Super Cache or W3 Total Cache.
We also recommend consulting this guide which identifies the majority of the solutions to problems that you could encounter.


No comments
No comments yet.